Building a CI/CD pipeline for your Expo app using EAS
Learn how to automate the build and release process for your Expo mobile app.
Senior Developer
Expo Application Services (EAS) is a cloud-based service for building and publishing React Native mobile apps, opinionated towards Expo apps.
Before migrating to EAS, we were required to build our mobile apps locally on Apple machines using Xcode and Android Studio, then manually upload the compiled binaries into the Apple App Store and Google Play Store respectively (where we could begin internal testing). This caused numerous issues, as software updates and outdated dependencies would constantly break things in our release process.
Publishing a new mobile app version could take anywhere from an hour to multiple days, because there was no way to predict what might go wrong and how long it would take to troubleshoot, especially in the case of cryptic CocoaPods/Gradle errors. This had a direct impact on how many times per year we could publish new app releases.
EAS takes care of everything. Once we have the app running on our simulator in the Expo Go sandbox, it becomes trivial to then have EAS handle the entire process for building and releasing the native app.
Having a painless and consistent mobile workflow allows us to feel more confident when releasing more regular improvements to our apps.
Building on EAS
Getting started
To get started with EAS, you will need to:
- Sign up for a free Expo account.
- Install the Expo CLI using
npm install -g eas-cli. - Log in to your Expo account using
eas login. - Configure the project and follow the steps using
eas build:configure.
This final step will create a new eas.json file within your application.
You can find more information in the official EAS Build documentation.
Configuration
All the configuration for EAS is defined within a single eas.json file.
After running the eas build:configure command above to generate this, you should have this file already. However, the default file can still use some additional improvements.
For example, you may want to create new EAS profiles which will allow you to build with different configurations and for different environments. Here are the profiles we currently use:
development: Includes the Expo Development Client (expo-dev-client) and is built to run inside mobile simulators, which points to our development API endpoints on our local machines.preview: Effectively the same as aproductionbuild, but specifically built for internal testing/QA purposes (can be installed on real test devices).preview-simulator: Identical topreviewexcept that it can be installed and tested on mobile simulators if needed (such as when troubleshooting a bug in the Production build).production: Built for distribution to the Apple/Google Stores, and automatically increments the build number for us.
Our current eas.json file looks like this:
1{ 2
3 "cli": { 4 "version": ">= 5.9.3", 5 "appVersionSource": "remote" 6 }, 7 8 "build": { 9 "base": {10 "android": {11 "image": "latest"12 },13 "ios": {14 "image": "latest"15 }16 },17 "development": {18 "extends": "base",19 "env": {20 "EXPO_PUBLIC_API_BASEURL": "https://laravel.test:8080/api/v2"21 },22 "channel": "development",23 "developmentClient": true,24 "distribution": "internal",25 "ios": {26 "simulator": true27 },28 "android": {29 "buildType": "apk"30 }31 },32 "preview": {33 "extends": "base",34 "env": {35 "EXPO_PUBLIC_API_BASEURL": "https://our-app.example.com/api/v2"36 },37 "channel": "preview",38 "distribution": "internal"39 },40 "preview-simulator": {41 "extends": "base",42 "env": {43 "EXPO_PUBLIC_API_BASEURL": "https://our-app.example.com/api/v2"44 },45 "channel": "preview",46 "developmentClient": false,47 "distribution": "internal",48 "ios": {49 "simulator": true50 },51 "android": {52 "buildType": "apk"53 }54 },55 "production": {56 "extends": "base",57 "env": {58 "EXPO_PUBLIC_API_BASEURL": "https://our-app.example.com/api/v2"59 },60 "channel": "production",61 "distribution": "store",62 "autoIncrement": true63 }64 }65}As you can see, each of our profiles extends the base profile (allowing us to specify which EAS build environment we use), and can point to different API endpoints.
It's also possible to override this at runtime by using .env files if needed, such as temporarily pointing your development build to the Production API for testing.
Here are some helpful links for EAS Build:
Looking for help with your Expo app?
Your first build
In this step we will use EAS to actually build a working development version of our app which can be installed into a mobile simulator.
From within the application directory, run:
1eas build -p ios --profile developmentThis will trigger an iOS build using the development profile, which you can also monitor via the Expo web UI:
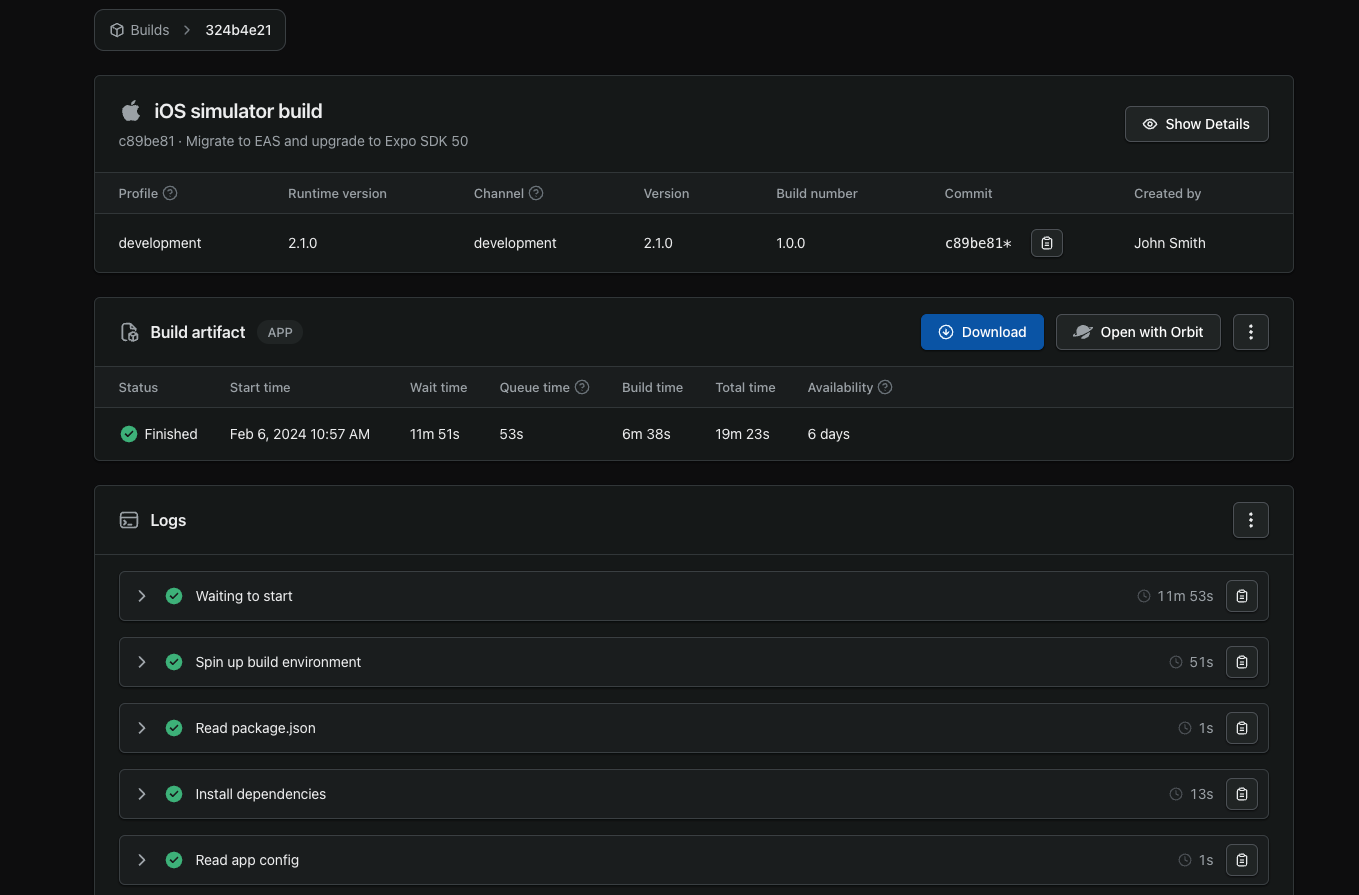
If the build happens to fail for any reason, you can review the full XCode or Gradle logs from this screen.
When this build completes successfully, you should be prompted by EAS CLI to install it within the iOS simulator, which you should do to verify that it was built correctly. You can also download the compiled build artifact from the Expo web UI.
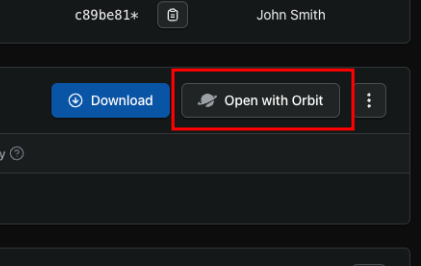
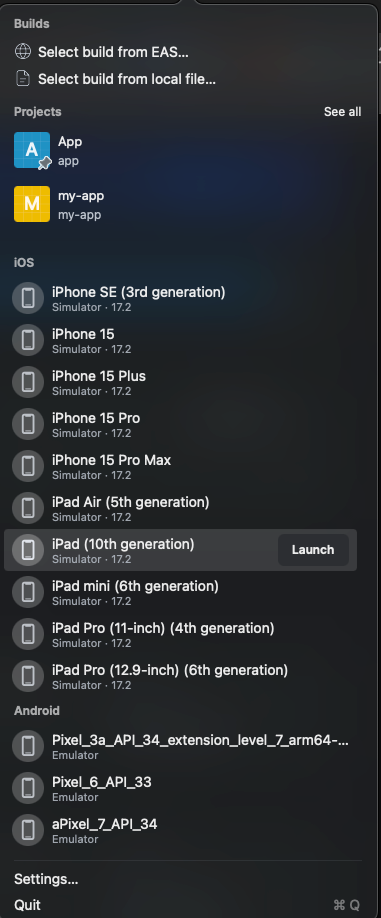
Alternatively, if you are developing on a macOS device, you can install Expo Orbit, which is a GUI to deploy builds to simulators running on your local machine, allowing rapid testing across multiple iOS and Android devices.
Once Orbit is installed, click the "Open with Orbit" button on any successful build on the Expo web UI.
You can also now repeat the process for an Android build:
1eas build -p android --profile developmentAutomating your build workflow using GitHub Actions
We have now successfully built and tested a working development version of our mobile app manually using Expo CLI.
We could repeat the steps for a production build, however a better approach is to trigger this automatically whenever we merge changes into our production (or main) GitHub branch.
Not using GitHub?
Refer to the official documentation for other CI systems including Bitbucket Pipelines, GitLab CI, and Travis.
First, you will need to generate a Personal Access Token for Expo. This will allow GitHub Actions to authenticate to the Expo API and trigger builds automatically. Once you have this token, you can add it to your GitHub Actions secrets:

You can then create a new GitHub Action YAML file, e.g. .github/workflows/eas-build.yml
1name: EAS Build 2on: 3 workflow_dispatch: 4 inputs: 5 platform: 6 description: 'Which platform to build for?' 7 required: true 8 type: choice 9 default: all10 options:11 - ios12 - android13 - all14 push:15 branches:16 - production # or `main`, or whatever you use17jobs:18 build:19 name: Install and build20 runs-on: ubuntu-latest21 steps:22 - uses: actions/checkout@v323 - uses: actions/setup-node@v324 with:25 node-version: 18.x26 cache: npm27 - name: Setup Expo and EAS28 uses: expo/expo-github-action@v829 with:30 eas-version: latest31 token: ${{ secrets.EXPO_TOKEN }}32 - name: Install dependencies33 run: npm ci34 - name: Set the variables35 run: echo "DEPLOY_PLATFORM=${{ inputs.platform || 'all' }}" >> $GITHUB_ENV36 - name: Build on EAS37 run: eas build --platform "$DEPLOY_PLATFORM" --non-interactive --no-wait --profile productionWhenever we merge into our production branch, GitHub will trigger the Install and build job. The final step of the job is to trigger an EAS build of the production profile on all platforms (iOS and Android).
Check the --no-wait flag
EAS builds can take anywhere from 5 - 20 minutes to run, so our workflow runs with the --no-wait flag which allows us to immediately finish the job and save CI minutes.
If you prefer that the job continues running until the EAS build has completed, you can omit this flag.
This particular workflow can also be triggered manually via the GitHub UI if needed (across one or both platforms):
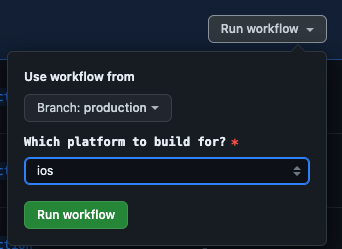
Once this Action has completed you should successfully see a new production build within the Expo web UI.
If you have not yet run a production build on EAS before, you may have to upload your Apple/Google credentials for the app to be built correctly.
Releasing on EAS
Releasing to internal testers
Expo also has the ability to automatically release builds of your app to App Store Connect and Google Play Console, where they can be distributed to internal testers via TestFlight and Test Tracks respectively.
This means that within minutes of merging changes into the production branch, your QA team could upgrade to the latest version of your app, making it a completely hands-off workflow.
To do this, you first need to configure Expo's credentials for submitting to Apple/Google as per Expo's documentation:
You may need to include additional settings in your eas.json file, such as your iOS app/team identifiers:
1{ 2
3 "cli": { 4 "version": ">= 5.9.3", 5 "appVersionSource": "remote" 6 }, 7 "build": { 8 "base": { 9 "android": {10 "image": "latest"11 },12 "ios": {13 "image": "latest"14 }15 },16 "development": {17 "extends": "base",18 "env": {19 "EXPO_PUBLIC_API_BASEURL": "https://laravel.test:8080/api/v2"20 },21 "channel": "development",22 "developmentClient": true,23 "distribution": "internal",24 "ios": {25 "simulator": true26 },27 "android": {28 "buildType": "apk"29 }30 },31 "preview": {32 "extends": "base",33 "env": {34 "EXPO_PUBLIC_API_BASEURL": "https://our-app.example.com/api/v2"35 },36 "channel": "preview",37 "distribution": "internal"38 },39 "preview-simulator": {40 "extends": "base",41 "env": {42 "EXPO_PUBLIC_API_BASEURL": "https://our-app.example.com/api/v2"43 },44 "channel": "preview",45 "developmentClient": false,46 "distribution": "internal",47 "ios": {48 "simulator": true49 },50 "android": {51 "buildType": "apk"52 }53 },54 "production": {55 "extends": "base",56 "env": {57 "EXPO_PUBLIC_API_BASEURL": "https://our-app.example.com/api/v2"58 },59 "channel": "production",60 "distribution": "store",61 "autoIncrement": true62 }63 },64 65 "submit": {66 "production": {67 "ios": {68 "ascAppId": "9876543210",69 "appleTeamId": "ABC12345"70 }71 }72 }73}You can then modify your GitHub Action to include the --auto-submit parameter in the eas build command:
1name: EAS Build 2on:
3 workflow_dispatch: 4 inputs: 5 platform: 6 description: 'Which platform to build for?' 7 required: true 8 type: choice 9 default: all10 options:11 - ios12 - android13 - all14 push:15 branches:16 - production17 18jobs:19 build:20 name: Install and build21 runs-on: ubuntu-latest22 steps:23
24 - uses: actions/checkout@v325 - uses: actions/setup-node@v326 with:27 node-version: 18.x28 cache: npm29 - name: Setup Expo and EAS30 uses: expo/expo-github-action@v831 with:32 eas-version: latest33 token: ${{ secrets.EXPO_TOKEN }}34 - name: Install dependencies35 run: npm ci36 - name: Set the variables37 run: echo "DEPLOY_PLATFORM=${{ inputs.platform || 'all' }}" >> $GITHUB_ENV38 39 - name: Build on EAS and Auto-Submit to App/Play Stores if successful40 run: eas build --platform "$DEPLOY_PLATFORM" --non-interactive --no-wait --profile production --auto-submit This will automatically create pending iOS and Android submissions, which will roll out as soon as the linked builds complete successfully. You can find these in the Submissions section of the Expo web UI.
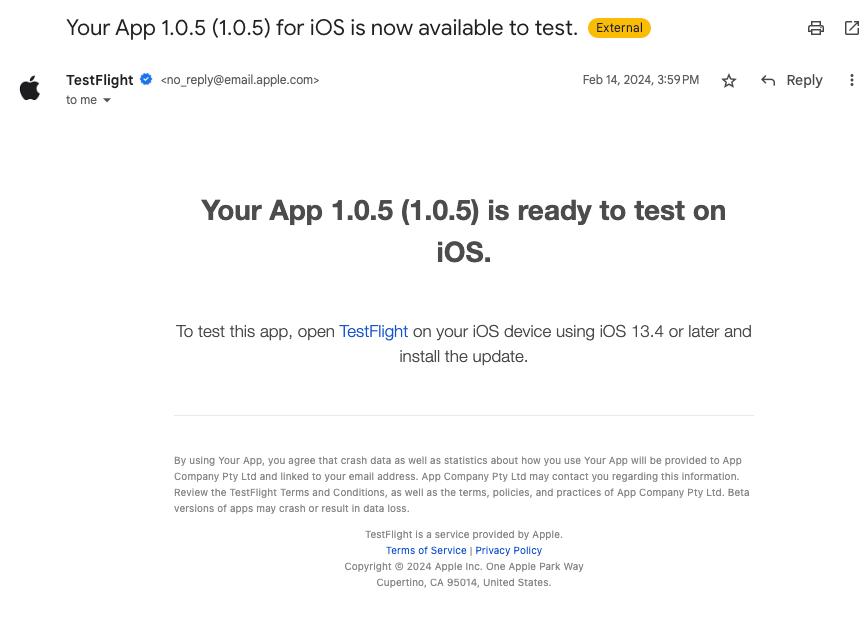
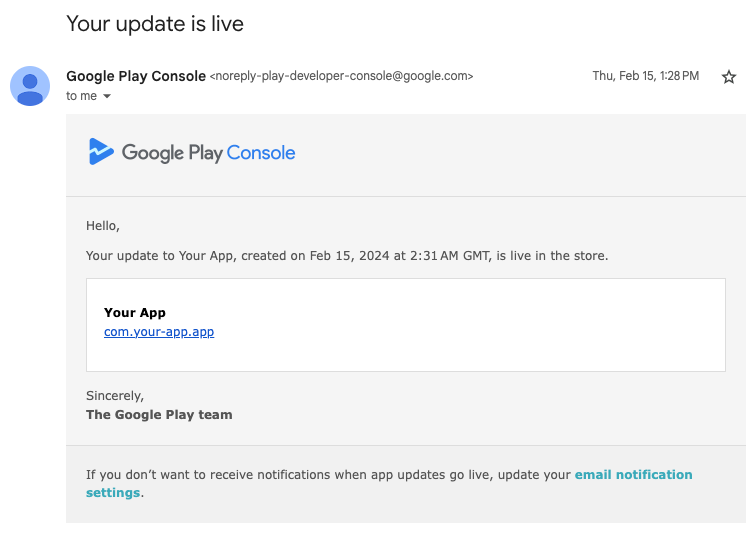
When the submission is completed, your internal testers will receive an email from Apple/Google notifying them that there is a new release of the app to test. They can install this via TestFlight or the Google Play Store.
Releasing to production
Once internal testing/QA is completed, you can use App Store Connect and the Google Play Console to promote each new version to the public.
Managing app versions
You can use eas.json to automatically manage your app versions instead of manually incrementing this via app.json. Our example above is configured to only increment the current version when a production build is run, so that development/preview builds don't create unnecessary versions.
If you already have an existing application, you can use the following CLI command to set Expo to your current app versions, so that it can begin incrementing from there as of the next release:
1eas build:version:setMore information can be found here.
Next steps
Expo includes many other features which you may find useful for improving your mobile app workflow, such as:
- EAS Updates: Hosted service that serves updates for projects using the expo-updates library.
- EAS Metadata: Automate and maintain your app store presence from the command line.
Want to receive updates from us?
Sign up for our newsletter to stay up to date with Laravel, Inertia, and Expo development.